


Recently I started experimenting with certain AWS services to get some hands on experience ( as they say the knowledge from video/blogs tutorial is not acquired until you get your hands dirty). In this blog I will provide a simple guideline on how to launch a python FastAPI application using AWS Elastic Beanstalk service.
Pre-requisites:
- Basic Knowledge of how Python works
- Basic Knowledge of AWS Elastic Beanstalk
- Basic Knowledge of FastAPI
What is Elastic BeanStalk
AWS Elastic Beanstalk is an easy-to-use service for deploying and scaling web applications and services developed with Java, .NET, PHP, Node.js, Python, Ruby, Go, and Docker on familiar servers such as Apache, Nginx, Passenger, and IIS.
You can simply upload your code and Elastic Beanstalk automatically handles the deployment, from capacity provisioning, load balancing, auto-scaling to application health monitoring. At the same time, you retain full control over the AWS resources powering your application and can access the underlying resources at any time.
There is no additional charge for Elastic Beanstalk - you pay only for the AWS resources needed to store and run your applications.
What is FastAPI
FastAPI is a modern, high-performance web framework for building APIs with Python based on standard type hints. It has the following key features:
- Fast to run: It offers very high performance, on par with NodeJS and Go, thanks to Starlette and pydantic.
- Robust: It provides production-ready code with automatic interactive documentation.
- Standards-based: It’s based on the open standards for APIs, OpenAPI and JSON Schema.
Now that we have basic understanding of the tools we shall use lets begin coding.
Coding Time !!
create a project called fastapi-demo
lets install some dependency that our fastapi application needs using pip install
- FastApi :
pip install fastapi - uvicorn :
pip install uvicorn[standard]
inside the project lets create a file called application.py add paste the following code:
from typing import Optional

import uvicorn
from fastapi import FastAPI

app = FastAPI()

@app.get("/")
def read_root():
    return {"Hello": "World"}

@app.get("/items/{item_id}")
def read_item(item_id: int, q: Optional[str] = None):
    return {"item_id": item_id, "q": q}
the reason why the file needs to be called application.py is because at the depoyment phase AWS Elastic Beanstalk looks for the file application so as to deploy it this is the point of entrance into our application .
lets create two more files in our fastapi-demo folder
- add .ebignore (if you have the gitignore file ,you don't need to create the .ebignore file simple add your python env to the list)in this folder lets add our python env to the ignore lists so that during deployment the python env ignored.
- add Procfile this is the file that AWS BeanStalk will look for to run your api using uvicorn.
In the Profile add the following line web: uvicorn application:app
Since AWS needs requirements.txt to know which dependency your application needs in order to run, lets run the following command ' pip freeze > requirements.txt`. this command automatically creates an requirements.txt (if you haven't created one already )and adds your dependencies to it .
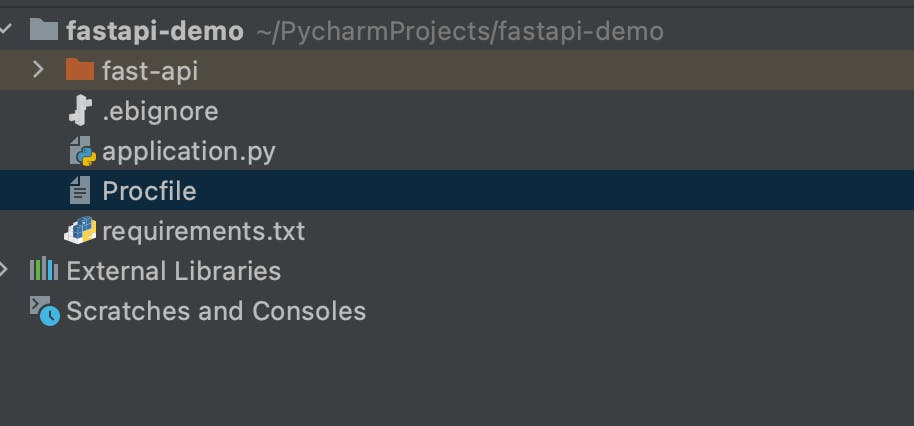
once all this is done your project should have a structure similar to the one below
Before deploying our application with AWS Elastic Beanstalk lets run it local with the following command uvicorn application:app --reload
Lets deploy our app with AWS Elastic Beanstark
first of all lets setup CLI (Command Line Interface) version for AWS Elastic Bean Stalk (EBS) on our computer (if we haven't done it already ) using the command below in our terminal: pip install awsebcli.
After installation of AWS Elastic Beanstalk CLI, lets check to see if it was installed correctly by writting eb --version in our command line. if its not installed correctly you will receive *command not found error otherwise a version number.
next you need to get your AWS IAM access keys , this link IAM access keys provides a guide on how to get/ create your AWS IAM access keys
lets configure the AWS CLI using the command aws configure
lets deploy
eb init --platform python-3.8 --region us-east-1-fastapi-demo. (This command initializes the environment for an EBS instance. AWS will look for either a requirements.txt or Pipfile.lock or Pipfile to install your dependencies, in that order.)eb create --region us-east-1 fastapi-demo(this command creates the EBS instance)eb open(this command opens the URL to the recently set up EBS instance in the browser window)
another useful command is eb depoly , So if you stage certain changes and run eb deploy --staged it will deploy newly staged content plus previously committed content (unstaged changes will not be deployed).
Sources
Sanjay Krishna' Blog on the topic
For me writing blogs is just a way of documenting my work . you can follow me on the links provided below for future articles.